Listen to the full episode for all the details!
Johanna Kuiper
0:00
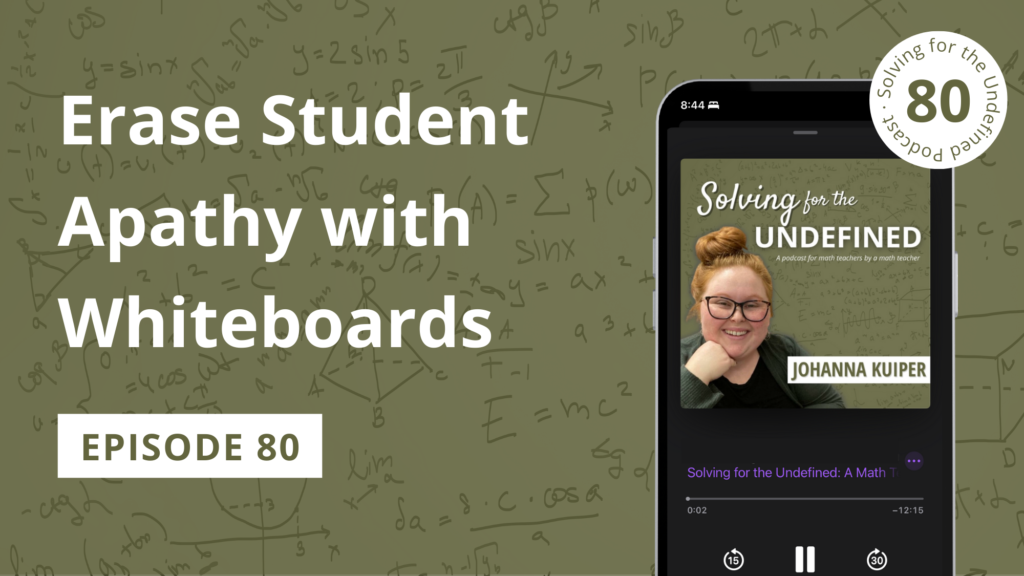
Who doesn’t love writing on whiteboards? I have fond memories as a kid going to my mom’s classroom during the summer, while she was setting up for the school year, and just drawing on her whiteboards with my sister. It was carefree fun, because if I had made a mistake while drawing or something, it could easily be erased and fixed. In today’s episode, I’m going to share how to harness that carefreeness of whiteboards to help erase apathy in students. Let’s get started.
Welcome to solving for the undefined podcast. I’m your host, Johanna, founder of Miss Kuiper s Classroom, the place that equips teachers and creating a healthy math classroom where students can thrive no matter their academic abilities, but it’s not always about the numbers, and that’s why I’m here bringing you the formulas to solve your problems, math and otherwise, plus strategies on cultivating that necessary math mindset, and that’s what you can count on.
Hello, welcome to a brand new episode. Today we are going to be talking about erasability. Now back in episode 75 when I talked about the five pillars of a math classroom, I talked about the comment method. And the comment method was creativity, open problems, movement, erasability and teamwork. So when I say erasability, I’m thinking about easily erasability surfaces, like mini whiteboards, dry erase sleeves, desktops and vertical non permanent surfaces, or like those vertical whiteboards that you might have in your classroom or wipe books.
And while pencils are technically erasability, they’re not easily erasable, and they leave a mark behind, aka evidence of a mistake. So we are not including pencils as part of our erasability items in today’s episode.
1:54
Now let’s talk about the importance of whiteboards. In my opinion, whiteboards erase apathy. Pun intended. What I see when I work with my students and I have a whiteboard in front of them, it becomes a low risk way for students to attempt work, and sometimes apathy is the result of not wanting to try, for fear of being wrong, and people seeing that you are wrong, but with whiteboards, that doesn’t happen, because if you make a mistake or you don’t like how something went, you can easily erase it and start over and there’s no evidence left behind that a mistake had occurred. Like if you had used pencil, you might erase it and that Smudge is still there. Or if you use pen and had to cross it out, that mistake is still visible. And while that might not seem like a big deal, it can be, for some students, it can be the overwhelming thing of like they did not get it right the first time, and that’s something that needs to be worked on. And we can also support our students in giving them a method to work in a low risk way that may not show their mistakes is as easily as pen and paper would. Plus another way that whiteboards erase apathy is it’s a lot more fun than doing something on paper. Something about whiteboards just makes kids want to write or draw on them, so using them as a regular tool within your classroom, students are more likely to do something because it’s fun to do, and now we just have to turn that excitement into something mathy.
Now, as we start talking about how to use erasable surfaces in your classroom, I want to give you a pro tip, and I use this specifically. When I have students get out their mini whiteboards, I do something called Doodle time. And doodle time is basically an extension of their supply Roundup. So go back and listen a couple episodes back on what a supply Roundup is, if you’re unsure, but what doodle time is, is students have two minutes to draw anything on a whiteboard, school appropriate, and then after those two minutes, their boards have to be cleared, and no more doodling can happen on the whiteboards. And this does two things for students. One, the faster they are in getting their whiteboards and their whiteboard markers, the more time they have to draw on their whiteboards. So it incentivizes them to get their supplies more quickly, because they get more time to draw on their whiteboards. Second, it sets the boundary that doodle time is the only time we draw on whiteboards. And outside of that, it is meant to be a tool for math.
All right, so let’s talk about how to use erasability surfaces in your classroom. First. Let’s talk about mini whiteboards. I love to do the warm up thinking tasks on mini whiteboards. So not like your traditional math warm up, but the math, the math adjacent critical thinking tasks that I taught. Talked about in episode 77 so crack the code number pyramids, which one doesn’t belong. All of those can be done on these mini whiteboards, or you could do it on the student’s desktop. If mini whiteboards are an option for you or your students, another use for them is having students show their work on whiteboards as they’re working through a worksheet or a digital activity. I love doing this because it allows students the space, as much space as they need to show their thinking. Now, if you like to also have them turn in their shown work, you might have to figure out a balance, because I the students I know do not want to do it on a whiteboard and then write it down on paper, so you’re gonna have to find a balance there. But I love seeing students work on whiteboards, because more work gets shown that way than if it was on a worksheet. Plus whiteboards are a great way to supplement if you’re doing like a digital activity, especially if it’s a self checking activity, because students are more likely to show work than doing it on a random scrap of paper.
Next, let’s talk about dry erase sleeves. Now, if you don’t know what a dry erase sleeves is, think about a page protector, but thick and sturdy. That’s basically what a dry erase sleeve is you can put worksheets in it, or you can put in, like a number line or a hundreds chart, and students can write on top of it, erase it and do something again.
So one way that I like to use dry erase sleeves is with the esti-mystery warm up problems, because they use the numbers one through 100 and students can kind of mark off numbers as they go through answering those four different clues to kind of estimate in the end which number is the number of items inside the jar.
Another use for them is dice boards. So a dice board is like a generic problem template, and then students roll dice. They plug in the numbers for the problem, and then they have to solve it, or for a graph that would plug in, like the slope and the y intercept based on their dice, and then graph the line. I love doing activities like this, because students end up doing more practice problems this way, without knowing how many practice problems they’re doing because it’s so hands on and engaging. What I do for these is I usually have one dry erase sleeves per group of three. One student rolls the dice and graphs it the others kind of check the work, then it rotates to the next student, and then they just continue doing this for the allotted 10 to 15 minutes. And then kind of the last idea I wanted to share was I put a number line in the dry erase sleeves last year for my seventh grade students when we were talking about integer operations, and then just gave them a place to draw, like the little jumps as they went Through we’re learning how to add and subtract positive and negative numbers, actually, too. I ended up liking that so much that on my vertical whiteboards, I put a number line negative 20 to 20 and put clear masking tape over and taped it up onto each whiteboard set so students could, when they were working at whiteboards do the same thing that they were doing at their desk with the little like hops, and they could visualize it a lot better on the whiteboards as well. And it was such a fun idea. They got used all year, and not just by my seventh grade students who were working with integer operations. It was a great visual method for me to also work with my eighth graders as we were working through like solving equations and inverse operations and other topics all right.
Now lastly, we’re going to talk about vertical, non permanent surfaces, which are like the normal whiteboards that a teacher might have in their classroom, as well as wipe books, which are these super sturdy, awesome posters that have graphs on one side and are blank on the other, and it’s an erasable surface. I use those for the graphing portions of my lessons, and the regular whiteboards for other stuff. So the first way that I use vertical whiteboards is through tasks. Now, when I’m talking about tasks, I’m thinking about one big problem that students are going to work through that’s going to take them a bit a chunk of time, two curriculums that I can think of that I’ve worked with that have these task style problems are ready, math and mid school math. Now mid school math is a fantastic curriculum if you don’t know them, and they start off each lesson with a math simulation, a video about some scenario where students are going to have to use math to solve. And with these they aren’t telling them what method to use to solve. So. Just given this problem, and they have to come up with some solutions, and that’s a great place for students to do it on whiteboards, because they can take any approach to these problems. They can try different things, erase it, try again. That’s one way that I use whiteboards.
Second I use it for just general practice. So after a lesson, I will have students do practice on the vertical whiteboards with their teams. Now there are two types of ways that I do this. One is called thin slice problems, and others is just like the regular math problems you might see in a textbook, but taken out of the textbook and put on strips of paper. I am not an expert by any means in thin slicing problems, but the way I understand thin slicing problems is you have a series of questions where each problem is just one thing different than the previous one. So for thinking about solving equations, the first one might be a one step equation with addition, the next one might be a one step equation with subtraction. Next would be one step equation with multiplication, then one step with division, then you might add the next step of two steps equations, but with addition, then the next one might be two step equation with subtraction, and it’s kind of just stair stepping a little bit each time, so there’s not big jumps in between these problems. So when you do thin slice problems, students tend to get a lot of problems done, or they’re asked to do a lot of problems during their whiteboard time, usually between 12 to 20 questions, because they’re just one jump difference between each one. Now the other style of like practice problems that I do on whiteboards. I don’t really have a name for it, but they’re like meater problems, meaning that there’s more to them than just a simple solve and move on. Typically, I like to do more word problem style, because students have to use critical thinking in those scenarios. So usually during this students have four to five questions that they’re going to go through that have maybe more than one step or are just bigger problems.
12:20
To give you an example, I’m thinking of the volume unit that I do with my students. So after they’ve discovered the three different formulas, so sphere, cone and cylinder, I might give them problems where they have to combine two of those shapes. So maybe it’s a cone and a cylinder together. Now they have to use that information to solve the problem. Or one of the problems that I love doing with students is it combines a cylinder, like the volume of a cylinder, and Pythagorean theorem. So students are having to do two different things. So I’m spiraling some review with Pythagorean Theorem, but I’m also having students think flexibly, because they have to do two different concepts in one problem.
And lastly, one other use that I do for vertical whiteboards is playing class games. So one game that I like to play is Jeopardy. And over the years, I found that using just mini whiteboards at the desk does not involve all three students in the group. It typically devolves into one or two people playing. But if they’re standing at their whiteboards, their vertical whiteboards, doing it, I’ve found that all three students tend to participate a little bit better than sitting down, and they would still use their group roles, so reader, scribe and calculator in that game scenario, and it just tends to be a lot more fun because it’s more interactive. They’re up, they’re talking more. It just is a lot of fun. So using vertical whiteboards for games like Jeopardy can be a really great strategy.
Okay, so in this episode, we have talked about easily erasable surfaces like mini whiteboards, dry erase sleeves, using student desktops and vertical, non permanent surfaces, or just vertical whiteboards. We talked about that whiteboards can erase apathy because it gives students a low risk way of participating. And then we talked about how we can use mini whiteboards, dry erase sleeves and vertical whiteboards in your classroom.
If you’ve never used erasable surfaces in your classroom before, this might be overwhelming to learn all of these different things. So I would suggest, first, if you have many whiteboards, start by just having students show work on them instead of on their worksheet. Or if you don’t have mini whiteboards, have students write on their desktops instead. Small steps are better than no steps.
And if you have any questions regarding erasability in your classroom, feel free to reach out to me on Instagram @misskuiper. I’m happy to answer any and all questions.
And with that, I’ll calc-u-later.
Thank you so much for tuning into today’s episode. To find all the links and resources to things talked about in this episode, head on over to misskuipersclassroom.com and click on podcast.
Transcribed by https://otter.ai
Related Episodes & Blog Posts:
More about Solving for the Undefined Podcast:
Solving for the Undefined is the go-to math teacher podcast to develop your intrigue for math and learning while helping you do the same for your students. When our host, Johanna, became a teacher, she found herself alone, creating her own activities, and trying to make math fun plus easy to implement…but it wasn’t exactly a piece of pi (or cake!).
She’s on a mission to solve those problems by helping teachers engage students academically using researched based strategies so students deeply understand and love math. And that’s what you can count on!
Some links on this page are affiliate links. This helps to support this podcast at no additional cost to you.